This section details adding an employee to the CheckWorkRights platform using the web application via our self onboarding email workflow, or by adding details manually in order to process a VEVO check.
Create Employee Record
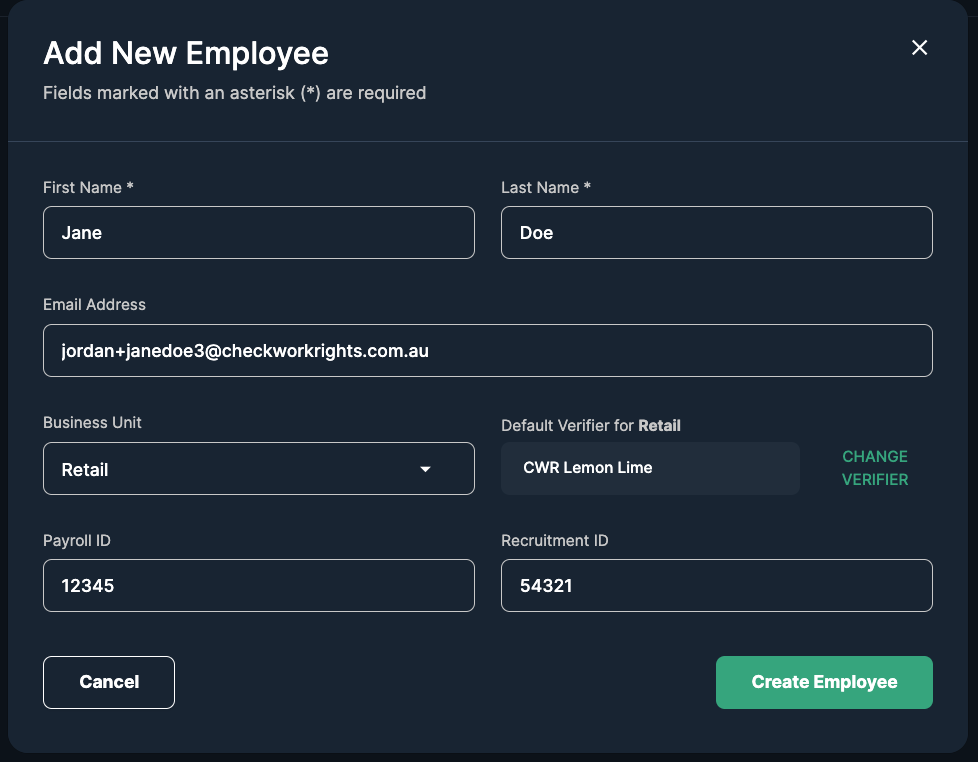
From the Dashboard, Select 'Add Employee'. On the screen below, enter their information to establish the new employee record.
-
Fill out the required fields
-
First Name
-
Last Name
-
-
Populate any additional fields
-
Change the default Verifier - the person who will inspect and review any supplied documents
-
Email Address - used to send the MyCheck email
-
Business Unit - the location your employee works in (optional)
-
Payroll or Recruitment ID - used for data matching external applications like HRIS, ATS or Rostering (optional)
-
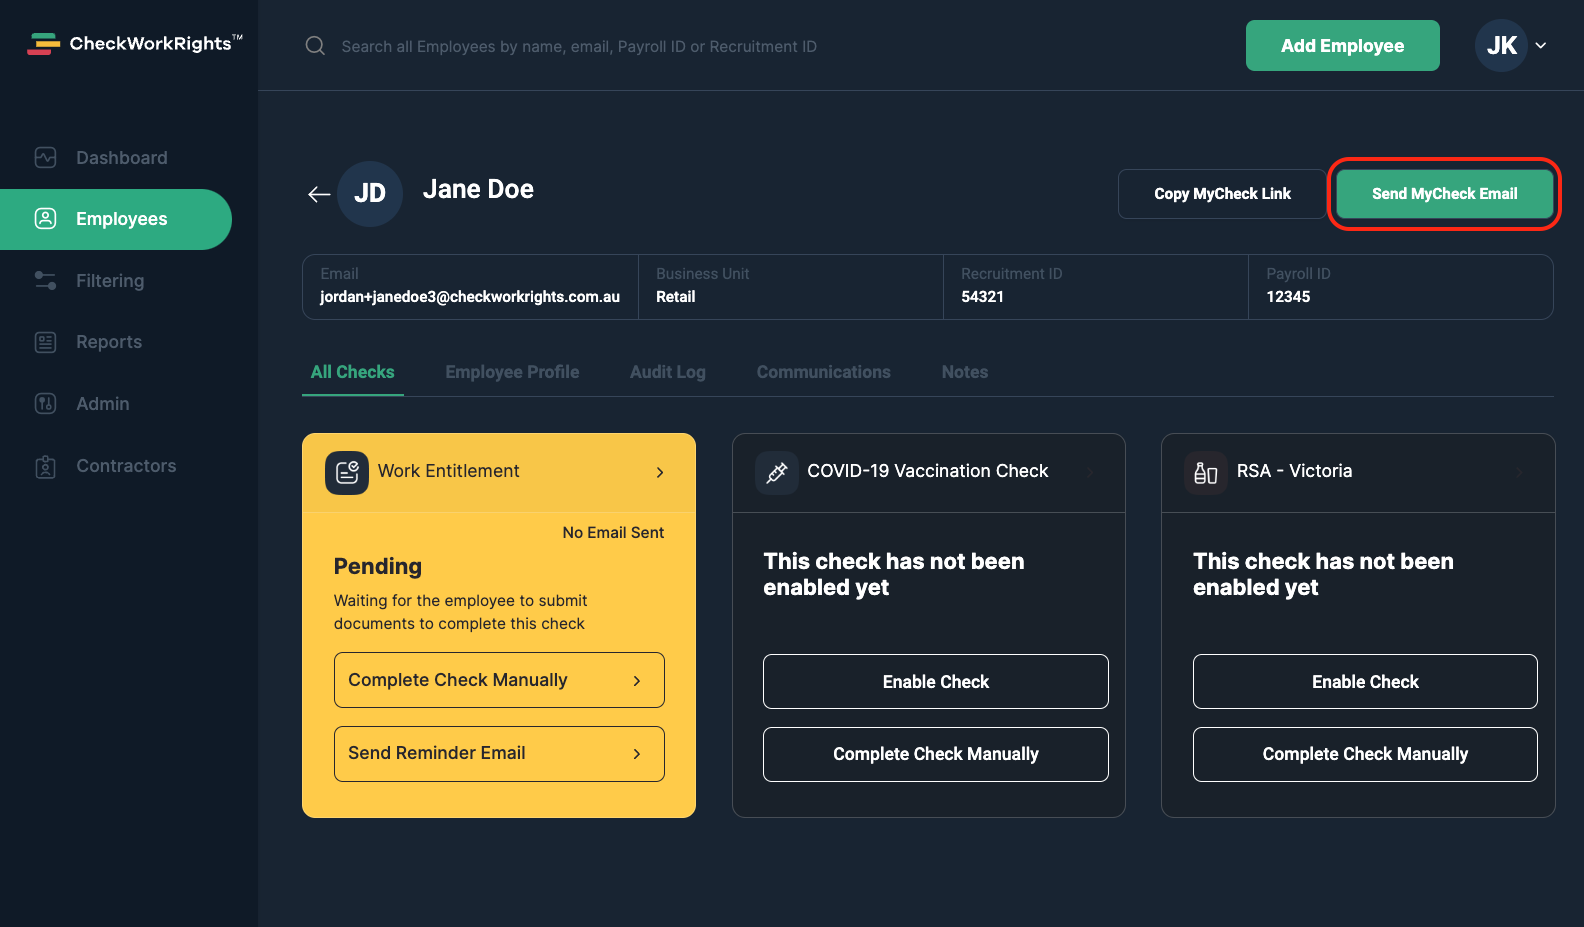
Once you have created the new employee, you will be in their Employee Profile. From here you will be able to configure the checks you need your employee to complete.
Add Multiple Employees
If you need to add employees in bulk, you can do so using a spreadsheet via our 'Bulk Upload' feature in the 'Admin' settings. Click here to learn more.
Collect Employee Documents Using MyCheck
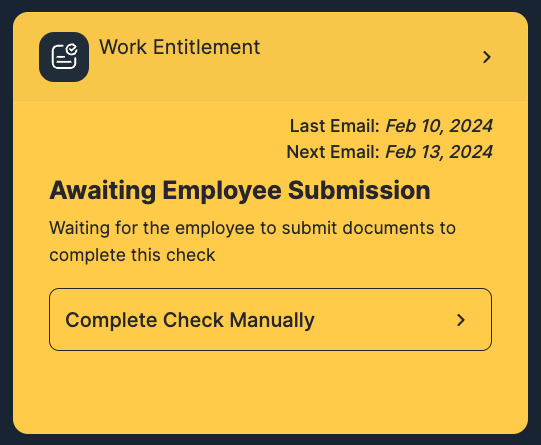
To instruct your employees to complete checks and requirements using our MyCheck employee self onboarding workflow you first need to enable the checks you want the employee to complete by selecting Enable Check on each check tile. You can start the process by sending a customisable email to the employee by selecting the Send MyCheck Email button on the top right of the employee profile, or use the Copy MyCheck Link button to send the MyCheck Dashboard candidate specific URL to the employee yourself (this feature is used if you want to bypass the CWR email process if you have existing comms going out to an employee, or for insertion into an ATS communication tool.
Before using the email workflow, ensure your account has your logo added, and the email copy has been customised to suit your organisation. ADMIN>EMAILS>CONFIGURATIONS>EMAIL TEMPLATES
Contact CWR for training on this feature if needed prior to use.
Complete Checks Manually on the Employee's Behalf
Once you've created an employee record, you can complete a check on their behalf if you already have the necessary documents, and also have record of the individuals written consent to run VEVO checks.
Confirmation of consent to run a VEVO check. You may only perform a check for an employee who has provided you with permission to use their document for the purpose of ascertaining their right to work status. Using functionality within the CWR application to manually add an employee and using their evidence to process a VEVO check, constitutes your confirmation that you have permission from your employee or prospective employee for this purpose.
To find out what documents are accepted for Work Entitlement checks, click here.
Work Entitlement. Select the Complete Check Manually button on the check tile and follow the process to complete the designation of Citizenship, and in the case of Foreign Citizens process a VEVO check.
You are asked to choose either Australian Citizen or Foreign Citizen.
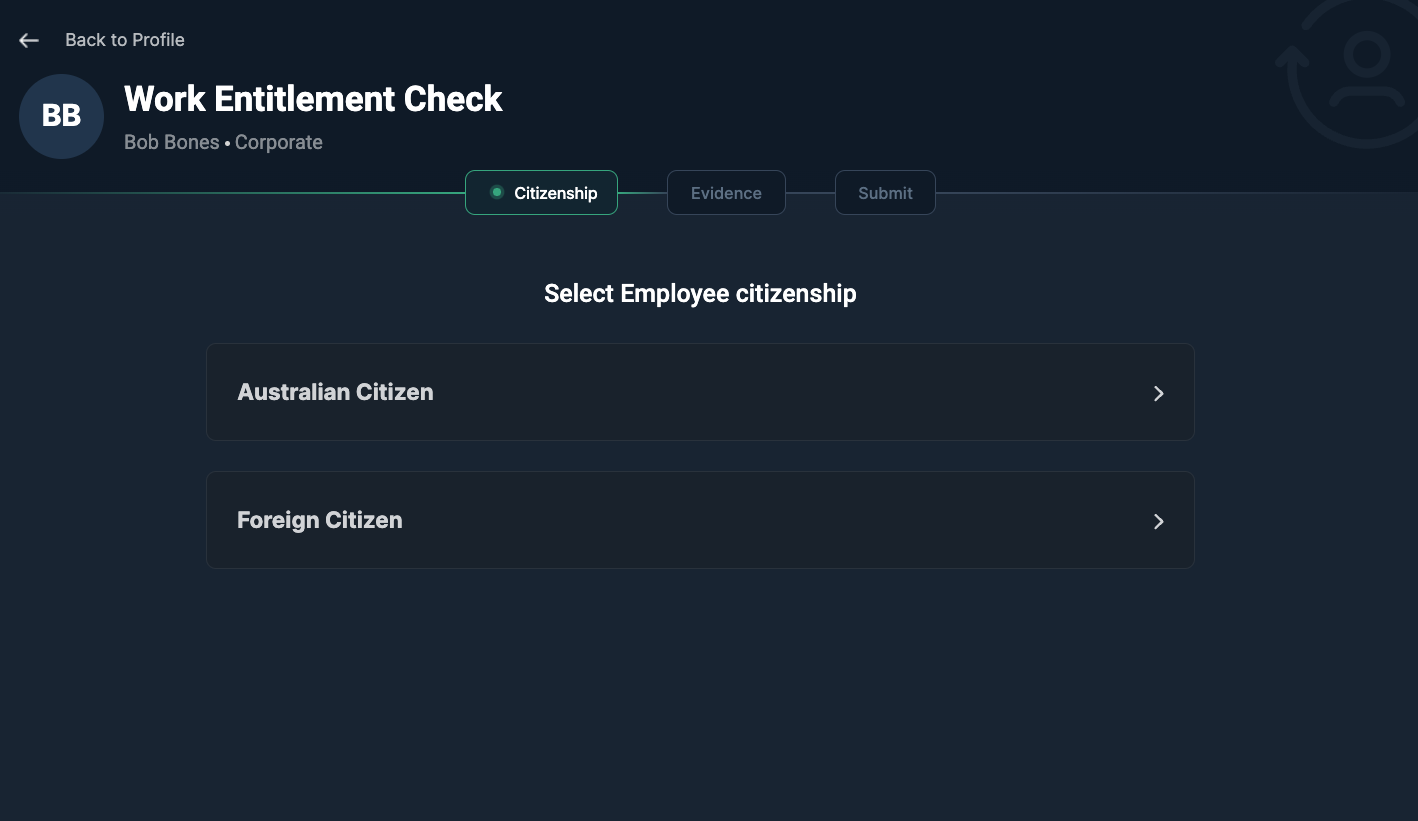
Once you have selected the employee's Citizenship, add the evidence document.
Australian Citizen
You are required to inspect the document that you are adding to the CWR application. The document must appear to be either an Australian Passport, Australian Birth Certificate, or an Australian Citizenship Certificate that relates to the employee.
Foreign Citizen
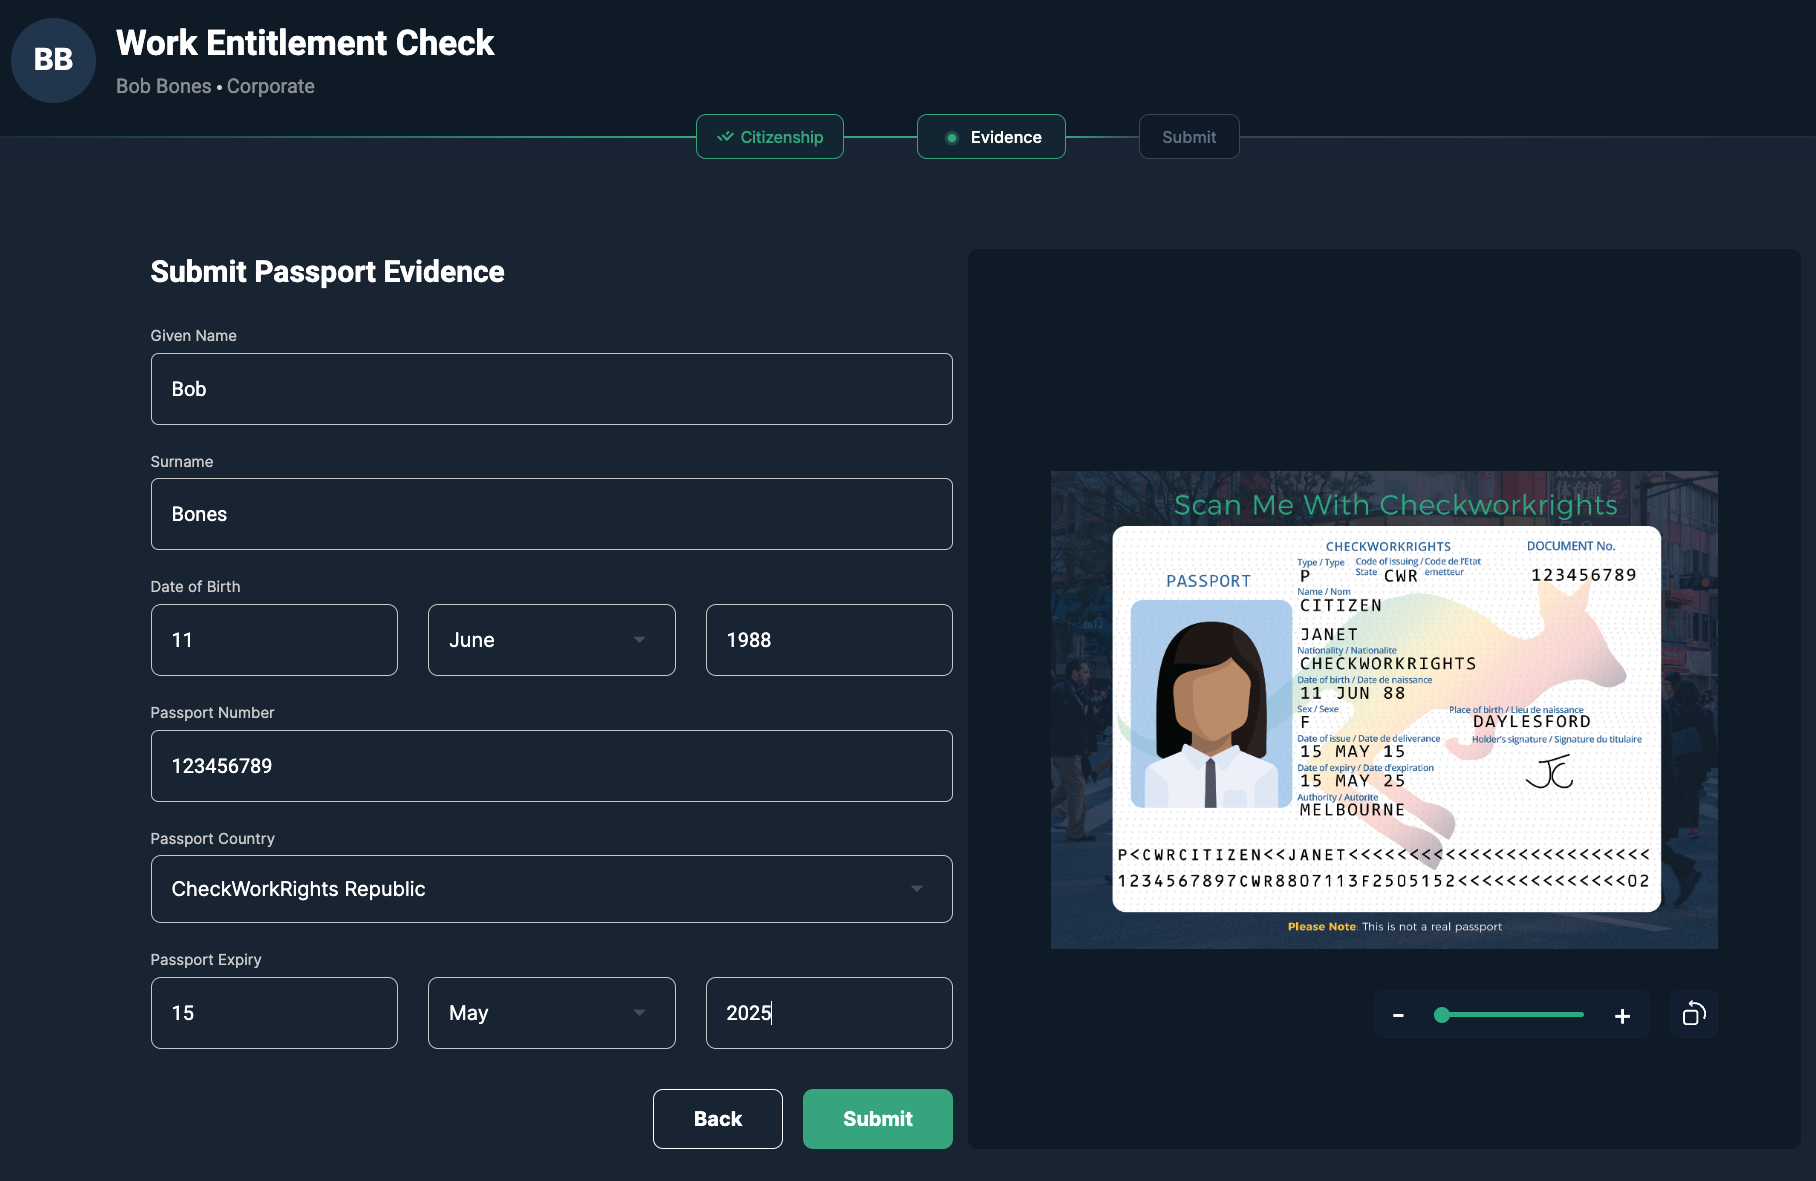
Enter the details from the employees document into the relevant fields, and press submit. This will run a VEVO check instantly
If you've entered the correct information, and the data can be matched with a record with our integration with the Department of Home Affairs, you'll have a successful VEVO result. The details of the VEVO check will be displayed, including visa subclass, visa conditions as related to employment, and visa expiry date.
If you receive the result of Unable to Check, there are range of reasons why this may be the case. The first thing to check is the details that have been manually typed in on the previous screen. More details on Unable to Check can be found here.
To learn more about Work Entitlement check results, click here.